


Transferring USDT to another wallet online is usually straightforward: choose the token, enter the address and network, then confirm the transfer. But these same three actions are where users most often lose money. USDT exists on several blockchains, wallet addresses can look deceptively similar, and the fee is paid not from the stablecoin itself but from the network’s native coin. That is why a safe transfer starts not with the “Send” button, but with checking the network, the address, and the receiving wallet’s conditions.
What You Need to Understand Before Sending USDT
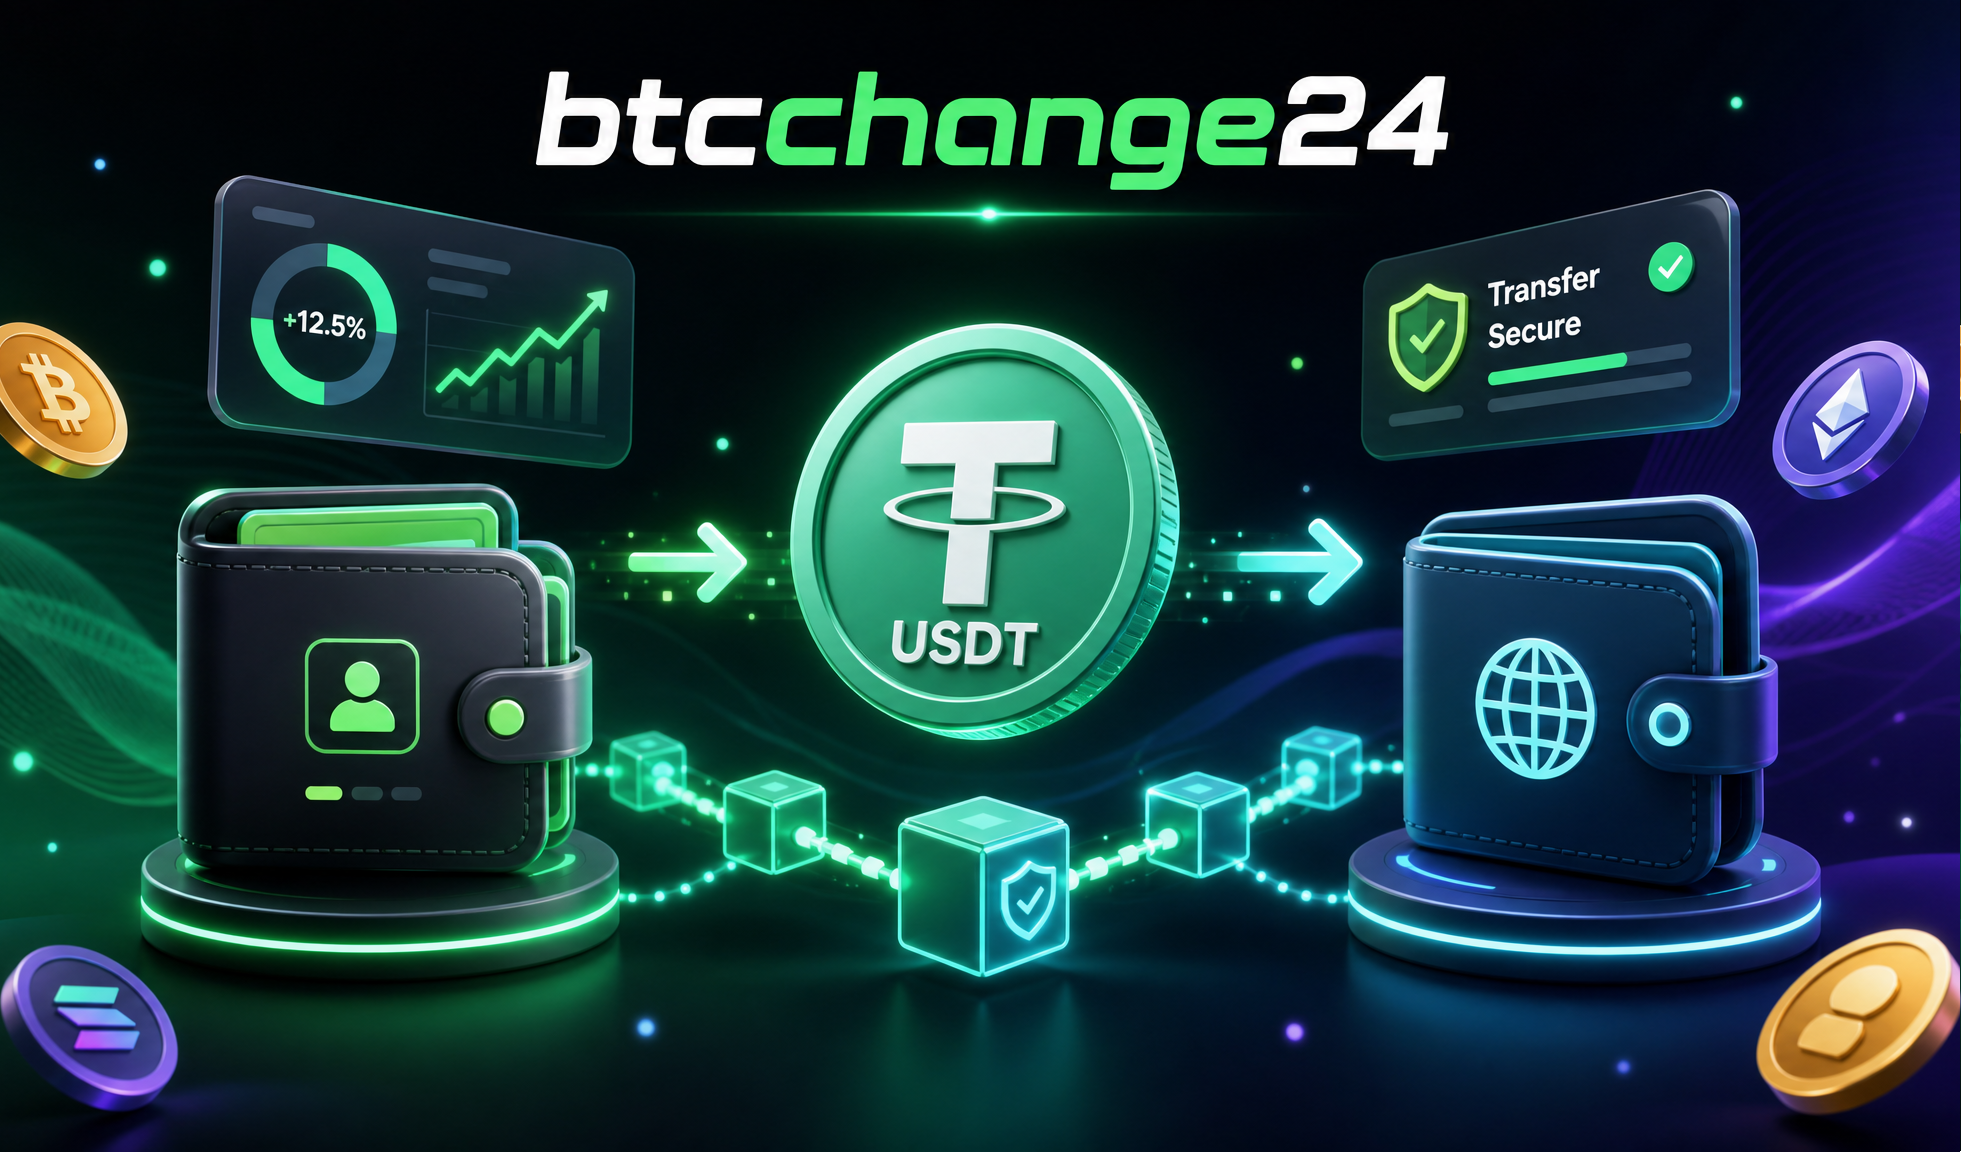
USDT is not a separate “universal coin” that behaves the same way in every wallet. It is a token issued on different networks: Ethereum, Tron, BNB Smart Chain, Polygon, Solana, and others. In practice, users see one ticker — USDT — but technically these are different tokens on different blockchains.
The main rule is simple: the sending network must match the receiving network. If the recipient gives you a USDT TRC-20 address, you need to send through Tron. If they provide an ERC-20 address, you need the Ethereum network. Some wallets show the same address for several EVM networks, but that does not mean every transfer is safe: the receiving service must support the exact network you select.
Term explained. A network is the blockchain where the transaction will be processed. An address is the wallet identifier on that network. A network fee is the payment to validators or miners for processing the operation.
Available Ways to Transfer USDT
The most direct option is to send USDT from a personal wallet such as Trust Wallet, MetaMask, Ledger, TronLink, Exodus, or another app. The user chooses the network, pastes the address, enters the amount, and pays the fee in the network’s native coin.
The second common method is withdrawing USDT from a centralized exchange. The exchange usually shows a list of supported networks and the fee for each one. The key point here is not to choose a network only because it is the cheapest: first make sure the recipient can actually receive the deposit on that network.
The third scenario is a transfer inside the same service, for example between exchange accounts or within a payment platform. Sometimes these transfers happen without an on-chain transaction and without a network fee, but that is an internal service transfer rather than a full blockchain transfer.
How to Choose the Right Network
For small and frequent transfers, users often choose networks with low fees such as Tron, BNB Smart Chain, Polygon, or Solana. For larger amounts, some prefer Ethereum because of its liquidity and broad support, although the fees there can be noticeably higher. There is no universal best option: the right network is the one the recipient definitely supports.
Practical example. The recipient says: “Send USDT via TRC-20.” That means you need to choose USDT on the Tron network, check that the address matches the Tron format, and keep a small TRX balance for the fee if you are sending from a personal wallet. If you choose ERC-20 only because you have ETH in the wallet, the funds will go out through a different network.
If you are sending to an exchange, open the deposit page for USDT and for the exact network you need. Some exchanges change network availability, temporarily disable deposits, or require extra details. Do not use an old address from a chat history if the service may have updated its deposit rules.
Step-by-Step Safe Transfer Flow
- Open the wallet or exchange you are sending USDT from.
- Select USDT itself, not a similar token or wrapped asset.
- Confirm the network with the recipient and copy the address from their wallet or deposit page.
- Compare the network in your app with the recipient’s network.
- Check the first and last characters of the address after pasting it.
- Make sure the wallet has the native coin required for the fee: TRX, ETH, BNB, MATIC, or another coin of that network.
- For a large amount, send a small test transaction first.
- After the test is confirmed, send the main amount and save the transaction hash.
A test transfer can feel unnecessary when the amount is small. But when you are sending to a new wallet or a new service, it is often cheaper than dealing with support after a mistake.
Where Users Most Often Make Mistakes
Typical mistake. Choosing the network with the lowest fee without checking whether the recipient supports it. For example, sending USDT through BNB Smart Chain to a service that only accepts ERC-20. In the best case, support may recover the deposit manually for an extra fee. In the worst case, the funds may be lost.
The second mistake is copying an address from an old transaction. Deposit addresses on exchanges can change, and some networks may be temporarily disabled. It is safer to open a fresh deposit page every time and copy the details from there.
The third mistake is forgetting about a memo, tag, or payment ID when the service requires one. This does not happen on every network for USDT, but if the platform shows an extra field, you should not ignore it: the transfer may arrive at the service’s shared address without being linked to your account.
How to Check the Transaction After Sending
After sending, the wallet or exchange provides a txid — the transaction hash. You can open it in the blockchain explorer for the selected network: Tronscan for Tron, Etherscan for Ethereum, BscScan for BNB Smart Chain, or PolygonScan for Polygon. The explorer shows the status, amount, sender address, recipient address, and number of confirmations.
If the transaction is confirmed on the blockchain but the recipient’s balance has not updated, the issue may be on the receiving service’s side: deposit processing delays, maintenance work, not enough confirmations, or a wrong memo. In that case, you will need the txid and a screenshot of the deposit details.
What to Do If the Transfer Went to the Wrong Place
First, do not send another transfer “just to check.” Record the txid, network, recipient address, amount, and time of the transaction. If the transfer went to an exchange or service, contact support and clearly state which network you used. The more accurate your data is, the better the chance they can locate the operation.
Method limitation. Blockchain transactions cannot be canceled after confirmation. If the address belongs to another person or the recipient does not support that network, the return depends not on the sender’s wallet but on control over the address and the receiving side’s policy.
Answers to Common Questions
Can I transfer USDT with no fee?
An on-chain transfer almost always requires a network fee. No-fee transfers are usually possible only inside the same service if it supports internal transfers.
What matters more: the address or the network?
Both matter. A correct address on the wrong network can still lead to delayed funds or a full loss, especially if the receiving service does not support that network.
Do I need to make a test transfer?
For a new address, a large amount, or an unfamiliar network, yes. A small test reduces the risk of mistakes with the network, the address, or an extra deposit detail.
Conclusion
A safe USDT transfer comes down to three checks: the network matches, the address is copied correctly, and the fee is paid in the right native coin. If the amount matters, add a test transaction and keep the txid.
Do not choose a network only because it is cheap, and do not trust old deposit details. In crypto transfers, a careful check takes a minute, but one mistake can cost the entire amount.
